
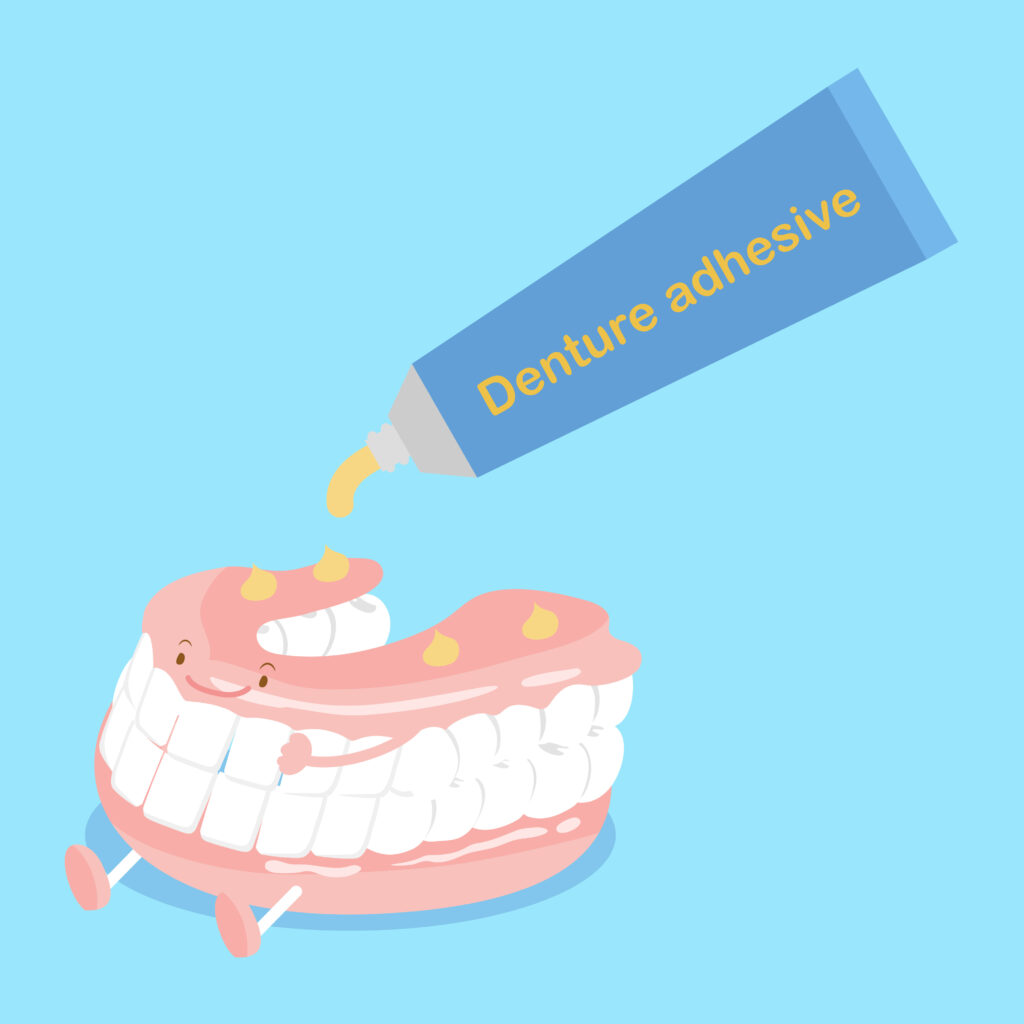
Though your dentures are custom-made to ensure they fit you securely, over time they can begin to lose their shape. This in turn can make it difficult for them to stay in place while you eat or speak, causing frustration and embarrassment. Thankfully, this is where denture adhesives can come in handy. Though slipping dentures can be a sign that it’s time for a reline or replacement, these products can be extremely useful in helping them stay put temporarily.
Here’s a guide to the different types of denture adhesives available, how to use each one, and why it may be time for new dentures.
Which Denture Adhesive Should I Use?
There are many different types of denture adhesives available, but thankfully they all work equally well. Each has its own unique benefits, and ultimately which kind you choose is a matter of personal preference. Here’s a closer look at how to use them.
Denture Adhesive Cream
- Completely clean and dry your dentures as you normally would.
- Gently squeeze the tube of adhesive and apply the cream directly onto the inside of your prosthetic in short strips. Be careful not to get any on the edges. Apply it sparingly so it doesn’t ooze out from the sides when you put your denture on.
- Rinse your mouth well to moisturize it and clear away any debris.
- Press your denture into place on your arch, holding it there for several seconds. Then, bite down on it to secure it.
Denture Adhesive Powder
- Clean the denture thoroughly but leave it wet.
- Spray the adhesive powder lightly and evenly on each surface of the prosthetic that will touch the gums and roof of your mouth.
- Moisturize your mouth with water.
- Shake off any loose powder from the denture and put it in your mouth, biting down on it to secure it in place.
Denture Adhesive Strips
- Completely clean and dry your denture.
- With clean, dry hands, remove the adhesive strips from their packaging.
- Moisten the strips one at a time with water.
- Attach them to your dentures as pictured in the product directions. Be careful to keep the strips away from the edges, and don’t let them overlap. Please note that they can be torn or cut into shape as needed.
- Rinse your mouth out with water to moisturize it.
- Pressing the denture into place, hold it firmly and bite down to obtain a secure hold.
Removing Adhesive from Your Dentures
When you’re ready to stop wearing your dentures for the day, remove them by swishing some warm water in your mouth and gently pulling them out. Place them somewhere safe, and then using a soft-bristled toothbrush, gently scrub the remaining adhesive from your gums with toothpaste.
Next, using a different soft-bristled toothbrush, scrub your entire prosthetic with either mild hand soap or a denture cleanser. Don’t forget to floss between each tooth and rinse it well before placing it in a glass of water or denture soak until you’re ready to use it again.
It is important to note that unless your dentures are brand new, you shouldn’t need adhesive to keep them in place. If you find that yours are no longer fitting properly, please schedule an appointment with your dentist to discuss either a reline or a new denture.
About Dr. Hong
A strong believer in lifelong learning, Dr. Jenny Hong earned both her master’s degree in molecular and cellular biology and her dental doctorate at the University of Toronto. She also completed a one-year Advanced Education in General Dentistry (AEGD) residency at Temple University. To this day, Dr. Hong remains committed to expanding her knowledge and has completed more than 100 hours of continuing education through a variety of academic institutes including the prestigious KOIS Center. If your dentures have stopped fitting correctly, don’t struggle with an improper hold. Schedule an appointment with Timeless Smiles for dentures today by visiting our website or calling us directly at 408-763-3008.